Welcome back to another DIY post, everyone!
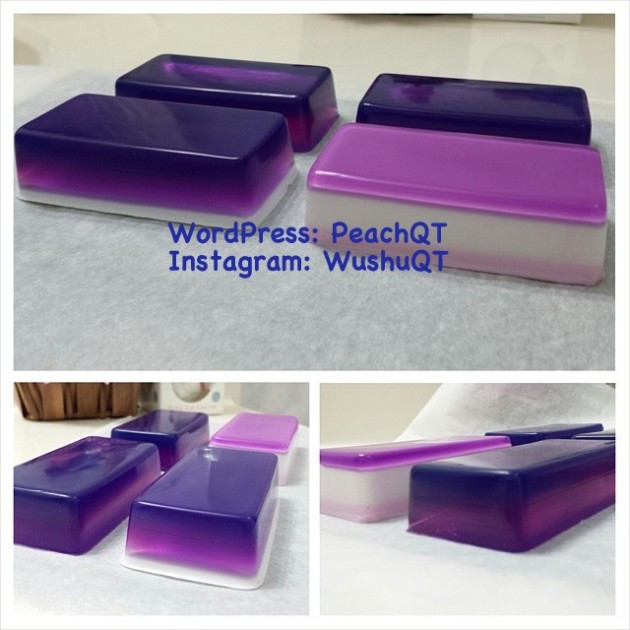
Last night, I decided to make some layered soaps with a rose scent. It was really fun to make & a great way to de-stress. Quite a few of my friends asked me how I made these, so I decided to blog about it.
Materials You Will Need:
Glass jar or Pyrex measuring cup (This is to melt the soap base, so make sure you get something that can be put in the microwave or be able to withstand heat.)
Stirring spoon (This is used to stir the soap base when adding colorant & what not into the jar.)
Metal dough scraper (This is used to cut the soap base and/or soap at the end to get it to the shape you need.)
Silicon or plastic mold (This is used to help make the shape of the soap. You can use whatever kind of mold you’d like.)
Clear glycerin Soap and/or White base soap (I used a clear glycerin soap & I also used a white base soap with shea butter. I bought these by 2 lbs. You can get this at your local craft store or online.)
Soap colorants (These are specially made dyes for soaps, lotions, bath bombs, etc. I purchased a primary color set from Hobby Lobby and just mixed the colors to my likings.)
Essential oil(s) (I used tea tree oil. Tea tree oil can be used for acne, eczema, dandruff, dry scalp, chest congestion, sunburn, colds, coughs, and many more.)
Soap scented oil(s) (I used a rose scented oil because I love floral scents.)
Rubbing alcohol (This is used to adhere the layers of the soap and to prevent bubbles from forming when making the soap.)
Spray bottle (I bought this from Target in the travel section. This is used to put the rubbing alcohol in to spray the soap.)
Directions:
1) Using the metal dough scraper, cut the glycerin soap(s) and/or white base soap(s) into cubes.
2) Put 3-4 cubes into your glass jar or pyrex cup & put into the microwave & heat for 20 seconds. Take it out of the microwave, stir with your spoon, and put it back in the microwave to melt for another 10 seconds if needed until the cubes are melted. Keep doing in intervals of 10 seconds until you feel like it’s done. Do not overheat the soap base. Use your best judgement on this. 🙂
3) Taking the glass jar to the side, now you will go ahead and add the soap colorant(s) of your choice. A couple drops of the dye will be good, and you will just stir with a spoon until the color is the color you like. You can add colorant to your liking. Remember, glycerin soap will be the colors you put in. Just refer to the color wheel for color references on what colors the primary colors will turn into when mixed. Otherwise, you can try and find the colorants closest to the color you want. If you use a white base soap, remember that whatever color you use, the color will come out lighter than expected. Example, using a white base soap with shea butter, I dropped a few drops of red colorant inside and stirred. The color became light pink. Keep in mind also that the white base soaps are going to have an opaque color, while the clear glycerin soaps will have a transparent color.
4) Then take the essential oil(s) of your choice, add a few drops into the glass container and stir.
5) After that, take your soap scented oil(s), and add a little bit into the glass container and stir. (If your contents become hard, you can reheat it again, but don’t overheat.)
*6) This is an optional step, but if you want to add coconut oil or sunflower oil to make your soap extra moisturizing. I did not put this in the materials section since I did not add any, but you can if you like. Also, organic kind would be the best.
7) Taking your glass container, you will use a spray bottle of rubbing alcohol and spray the top of the contents to prevent it from bubbling. Afterwards, you will pour the contents into the mold of your choice. I used a rectangular shaped mold. After I poured the 1st layer, I let the contents sit for 5 minutes. Make sure the contents have hardened before you do the next step. You can lightly shake the mold to see if it still moves.
8) Then, using the same process as before, you making your second color of soap contents. Before you pour the contents on top of the layer you have, spray rubbing alcohol on top of the layer you have already in the mold, and then pour the contents on top.
9) I continued to do the same process, but with a different color until I reached my 3rd or 4th layer of soap. Once that is done, I let the contents in the mold sit for a couple hours to harden. You can put this in the fridge to speed up the process.
10) When you are sure the contents in the mold are fully hardened, you will push the contents from the mold out and wrap with saran wrap so that it can be preserved well.
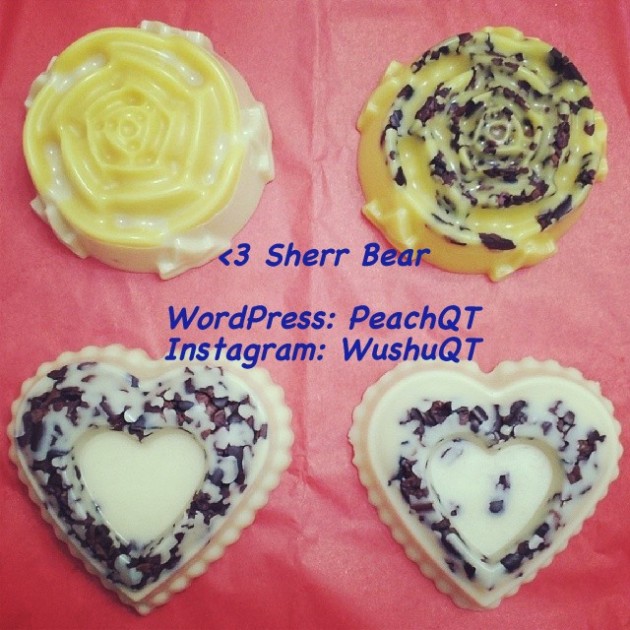
That’s it! This is how I achieved my DIY rose scented layered soaps. I hope ya’ll enjoyed my tutorial. Please feel free to share your layered soaps if you decide to try this out. I’d love to see them. These make great gifts for any occasion. You can be as creative as you want. There are many ways to make soap. You can even use cookie cutters for shapes & what not.
If you’d like to share your versions of layered soaps, my Twitter username is PeachQT, and my Instagram username is WushuQT.
Thank you so much for checking out my DIY/beauty review blog!
❤
Sherr Bear ^_^


